How to replace a H3-3D gimbal with a Zenmuse H4-3D gimbal on a Phantom 2
by George Krieger
Full video of the procedure is here : http://youtu.be/NjJT3WnUgA4 and embedded at the bottom of the page
First you will need these tools
- Phillips Head Screwdriver
- Allen Wrench for DJI screws
- Tweezers are helpful but not required
- Remove the H3-3D gimbal and base plate

- Install the Anti-Vibration Dampeners to the new base plate

- Insert 2 Anti-Drop Clips in the M1 and M3 positions of the base plate through the Anti Vibration Dampeners.. do not put the locking washer on yet.

- Install new base plate (do not use the Zenmuse H3-3D base plate as it is different) with the Anti Drop Clips inserted to the Phantom 2 mounting holes.

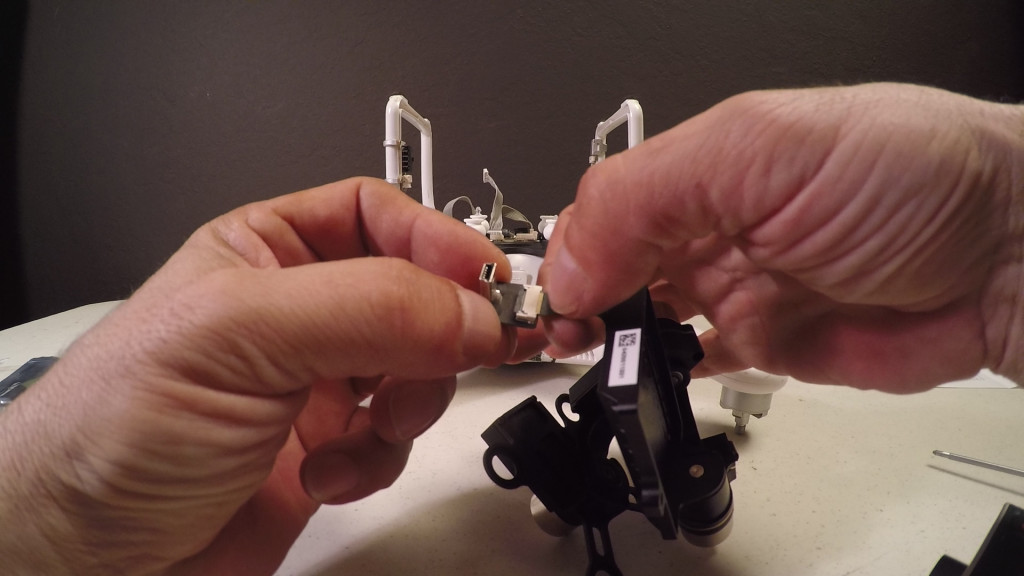
- Remove the USB board connector from the old H3-3D gimbal for use on the new H4-3D model. To remove the board form the ribbon cable lift the small black clamp on the connector, and pull out the cable.

- Install the USB board connector onto the new Zenmuser H4-3D gimbal making sure the orientation is correct and the black clamp is snapped into place.
- Place the new H4-3D gimbal on the base plate by attaching the Anti Dampeners that are connected to the base plate to the gimbal plate.

- Put the locking washers on the Anti Drop Clips in M1 and M3 positions but only down one click. DO NOT OVER TIGHTEN (you will have no dampening and video will be shaky)

- Plug in the 8 pin gimbal control cable that comes from the Anti Interference Enhancement board into the new gimbal.

- Install your GoPro Hero 4 in the gimbal using the bracket and screws from your old H3-3D.

- Upgrade the firmware if needed and always do an Advanced Calibration before testing and new configuration.
- Review all gimbal and aircraft settings, do a short test flight in close proximity to see the gimbal’s stability. Go film and test your work!


Here is the full video of me doing this replacement in real time.